Thursday, October 2, 2014

Easy Science Fair Project: Having a look at soil


Do you know what soil really is? Do you know how soil is actually formed? Well
http://www.amazon.com/gp/product/B0013LUKFK/ref=as_li_tl?ie=UTF8&camp=1789&creative=9325&creativeASIN=B0013LUKFK&linkCode=as2&tag=funeascra-20&linkId=BKB6NLTXUAXB7H6T
today that is what we are going to look at.

Soil is formed by decaying vegetable matter, mineral grains and pieces of rocks. We are going to have a look at the part that earthworms play in the decomposition process.

Other forms of decay that plays a role are:
  1. Weathering, a process where rocks are broken down.
  2. Chemical weathering where minerals are dissolved by water.
  3. Physical weathering caused by burrowing animals.
  4. Attrition is a physical weathering that happens when wind-blown particles rub against each other.
For fun you can try and think of ways to turn the above into a science fair project.

Now for our project where we are going to examine what soil is made up of.

This is what you will need:
  • 1 Large plastic bottle
  • 1 Small plastic bottle
  • Scissors
  • 6 Earth worms (you may have to go digging for them! Ask an adult to help you.)
  • Some rotting leaves
  • A piece of black paper
  • Sticky tape
This is what you have to do:
  1. First you have to cut the top of, of the large bottle.
  2. Now you have to place the small bottle inside the large one. You have to make very sure that the gap between the two bottles is evenly spaced right around the small bottle.
  3. Now you have to fill the gap with layers of soil and sand up to about 2inches from the top.
  4. Press the soil down lightly.
  5. The earth worms need to be handled very gently. Place them on top of the soil.
  6. Now you have to cover the earthworms with the rotting leaves.
  7. Cover the bottle with the piece of black paper.
  8. Remember that you have to keep the soil moist at all times. If the soil dries out the earth worms will die.
  9. Now you have to wait for a few days.
  10. After a few days, remove the paper and see how the worms have tunneled away from the light into the soil and how they have dragged the leaves into their burrows.
Try and explain why you think this is important. How do the worms tunneling into the soil help with enriching the soil?

For this project you need to read up on the theory that you are trying to illustrate with your experiment. You should not have any problems with finding the information.

Thursday, September 18, 2014

Scienc Fair Project For High School - Is Air Pollution Different on Different Days of the Week?


This science fair project is good for high school students, and uses some
http://www.amazon.com/gp/product/0470239557/ref=as_li_tl?ie=UTF8&camp=1789&creative=9325&creativeASIN=0470239557&linkCode=as2&tag=funeascra-20&linkId=X5WULOH6ZEV2ZK3F
speciality equipment that every high school science lab should have. 

In this science fair project, students are going to figure out whether or not air pollution is different on different days of the week. So what do you think? Does the day of the week affect air pollution? What are some factors that do affect air pollution? Make sure to write out a hypothesis stating what you believe before you start the project.

For this project you are going to need: 
  • a microscope
  • glass slides
  • petroleum jelly. 
Method:

The procedure for this science fair project is pretty easy and straightforward. 
  1. Coat the one side of the glass slides with petroleum jelly
  2. Place them in a variety of areas around your community. 
  3. Put them outside your house, outside your classroom window, inside your classroom, in a park and so on. 
  4. Let the slides sit for the same period of time, for example 8 hours, 12 hours or one day. 
  5. After picking up the slides, you will want to study them under a microscope and see the particles on them. 
  6. What kind of particles do you see?
  7. Repeat this process for each of the days in a week, making sure that your slides are left out for the same period of time and in the same location.
  8. Record your results. 
  9. You may even want to make a diagram of what you can see through the microscope. 
  10. For best results continue this experiment for at least two weeks but possibly even four weeks.

What did you find out? Does the air pollution change between different days of the week? Is a Monday typically cleaner than a Friday? Was your hypothesis right?

If you want to introduce another variable into your project, you can look at the weather reports for the days of the week that you looked at for the air quality. 
  • Do you think the weather affected your results? 
  • When did you have the best air-quality: on a sunny day, a cloudy day or a rainy day? 
  • Which has a bigger role in air pollution: the day of the week or the weather?
Air quality is important, and finding out what affects air-quality is a good project for high school students. This science fair project uses a microscope, but it is still easy to do and can tell a lot about our environment and world.

If you are looking for a science project for a younger child you can have a look at my Hub:


Science Fair Projects, Grade One To Seven

Monday, August 11, 2014

Make Your Own Mold: A Simple Science Fair Project


 Have a look at: Fun Air PollutionScience Fair Project

In this science fair project, you are going to find out how mold grows. Mold is a spore that lands on
http://www.amazon.com/gp/product/1605541214/ref=as_li_tl?ie=UTF8&camp=1789&creative=9325&creativeASIN=1605541214&linkCode=as2&tag=funeascra-20
food and grows, leaving the food inedible. You may have seen mold growing on your bread, leaving it spotted with green or white pieces. If you haven’t ever seen mold, this is your chance to ‘grow’ your own.

This science fair project is great for students in grade 1 through 3 to try. Younger students should have their parents or teacher supervise the experiment for safety reasons. This project is easy to do, and only needs a few common household items, including a slice of bread, a food storage bag that can be sealed, a cotton swab, an empty milk carton and masking tape.

Gather all of the supplies that you need, wash your hands with soap and water, and the science fair experiment can begin! The first step is to find some dust. Take your cotton swab and find a dusty area in your house and collect some dust. After that, you are going to lightly smear the dust onto the bread. The next step is to put the piece of bread into the zipper bag and then put it into the milk carton and seal it with a piece of masking tape.

Now, the waiting game begins. Wait at least two days and then carefully take the bread out of the container. What happened? What can you see? Is there mold on it yet? If there is, make a drawing of your bread, marking down where the mold has grown (you should make a drawing of each side of the bread). Then, put the bread back in the milk carton and wait another day. If there is no mold, put the bread back, and wait another day. Continue this project for one week, making new pictures for each of the days that you take the bread out of the milk carton. What do you see? How moldy does the bread get?

Make sure that you don’t eat this bread, because, although some molds are used in medicines and are healthy, a lot of them can be dangerous for our health. Also, make sure to wash your hands before and after working with the bread, and to not take the bread out of the plastic bag.

If you aren’t a very good artist, you can always take pictures of your bread. Your science teacher will be interested in knowing why the mold grew, and to find out your results. Did the mold grow faster or slower than you thought it would?

Tuesday, January 14, 2014

Cool Science Fair Projects - The Power Of Growing Flowers

The amazing The Power Of Growing Flowers

Have a look at:

http://www.amazon.com/gp/product/B000BURAP2/ref=as_li_tf_tl?ie=UTF8&camp=1789&creative=9325&creativeASIN=B000BURAP2&linkCode=as2&tag=funeascra-20
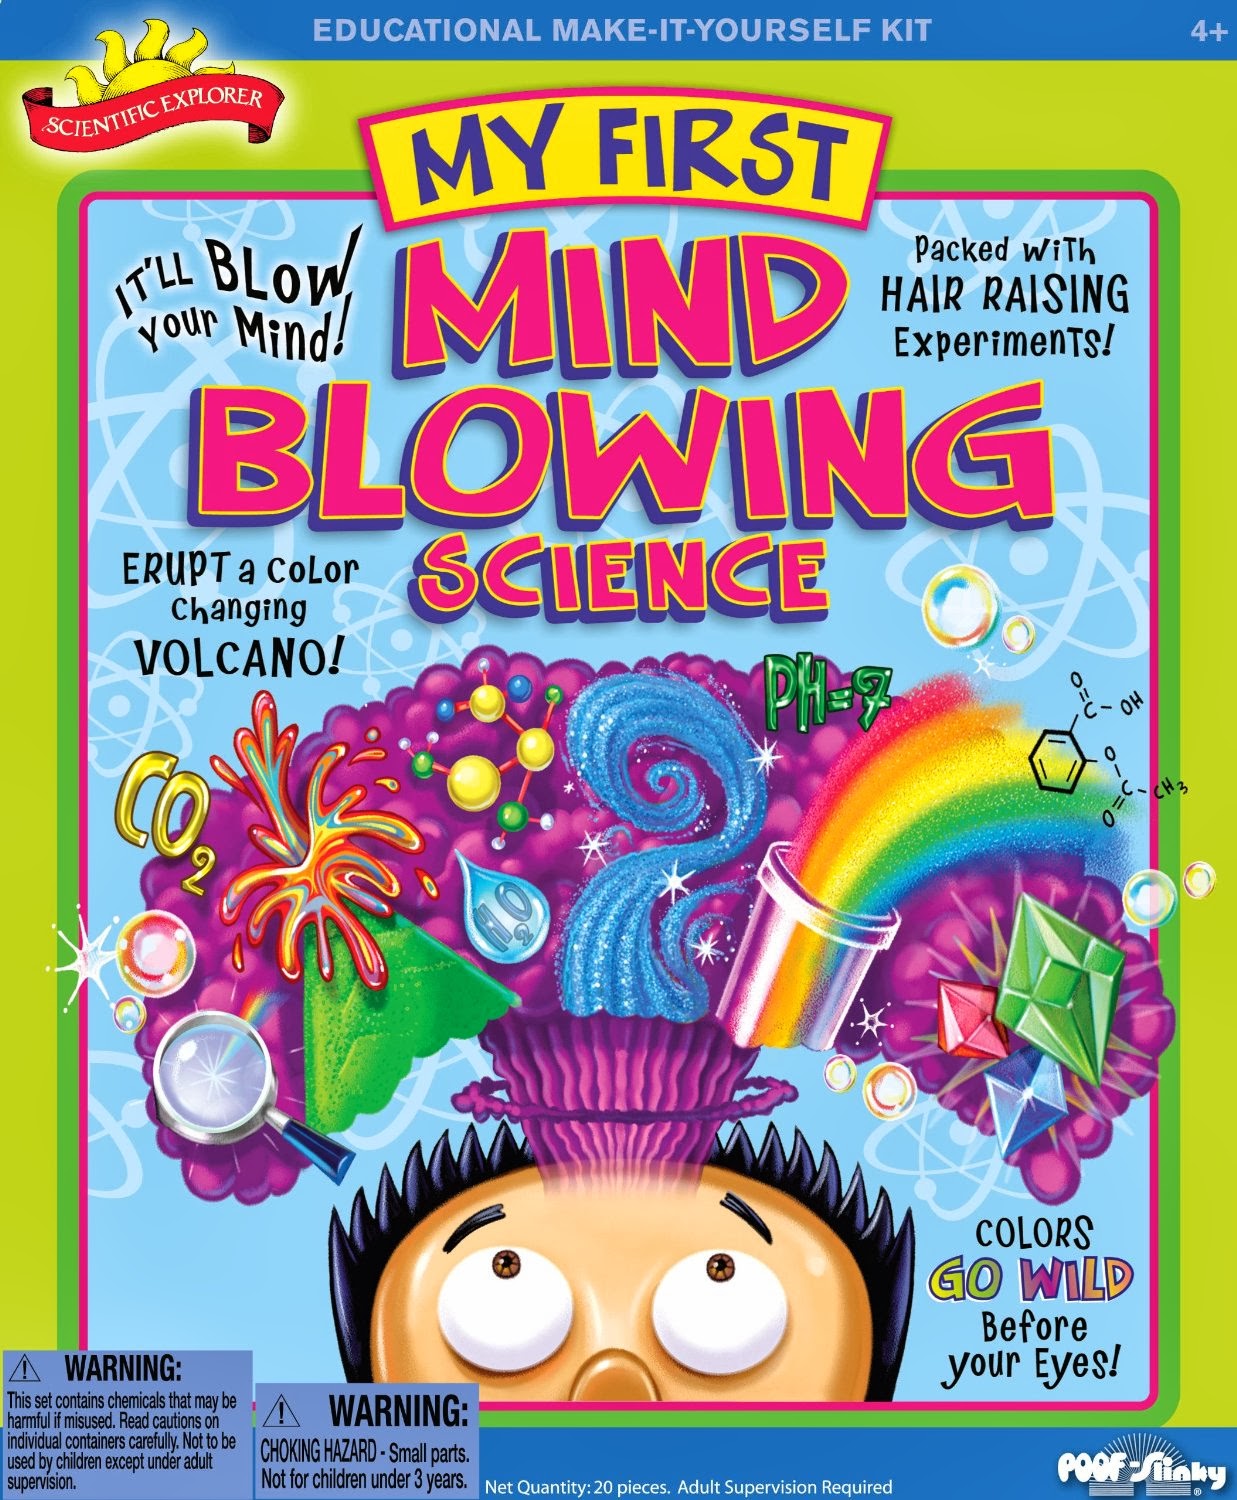
POOF-Slinky 0SA221 Scientific Explorer My First Mind Blowing Science Kit, 11-Activities


Your kid will love it

This is one of our cool science fair projects that show the strength of growing plants.

What you need for this science fair project:
  • A sheet of clear plastic
  • A healthy potted plant
  • A box of paper clips
  • 2 Small boxes just a bit higher than the plant
How to do this cool science fair project:

  1. Take your healthy potted plant and place it on a windowsill that gets enough sun.
  2. Now you place the two boxes on each side of the plant taking care not to shade the plant.
  3. Lay the plastic across the boxes and let it hang down the two sides of the boxes.
  4. Make two chains that are identical with the paper clips
  5. Lay these chains over the clear plastic so that it hangs down the sides of the boxes.
  6. Arrange them evenly and mark their positions on the boxes.
  7. Now you care for the plant as normal.
  8. Check and mark the positions of the chains from time to time

What has happened?
  • Make note of what happens?
  • Measure the markings as they move up the boxes.
  • Why do the chains move up?
Explanation:
  1. This experiment shows us how strong plants are. 
  2. As the plant grows it pushes the plastic and thus the chains up. 
  3. Now you can see how plants can be so incredibly strong and grow through blocks of cement and why weeds push through the sidewalk cracks to reach the light (Plants need light to stay alive and grow)

Saturday, August 31, 2013

Easy Elementary Science Projects - The Working Of Filters


Easy Elementary Science Projects - The Working Of Filters
  
This science project is one of three Easy Elementary Science Projects that we
will do on filtering water and other liquids. You will see that a filter removes more suspended solids than a strainer, that a filter does not remove solids dissolved in the liquid and that you can use a wick to filter suspended matter from water.

What you will need for this Easy Elementary Science Project:

  • Water
  • A measuring cup
  • 6 Glasses
  • Sand
  • A measuring spoon
  • Sugar
  • Milk
  • Cocoa
  • Spoon
  • 3 Coffee filters
  • A notepad
  • A pen
  • A camera
  • 3 teaspoons
How to do this experiment:

  1. To formulate your hypothesis write down which of the sand, sugar and cocoa you think the coffee filters will remove from the liquids.
  2. Now you proceed to test this hypothesis (it does not matter if you prove yourself wrong, the important thing is that you do your experiment accurately and record what you find accurately. You will not be penalized for a wrong hypothesis, so do not change your hypothesis afterwards that is against good scientific method.)
  3. Note all the glasses must be completely clean
  4. In two of the glasses pour 1 cup of water
  5. In a third glass pour ¼ cup of milk
  6. To one glass of water add a tablespoon of salt
  7. To the other glass of water add 1 tablespoon of sugar
  8. To the milk add 1 teaspoon of cocoa
  9. Using a clean teaspoon each time, thoroughly stir all three
  10. In your note book make a note of the appearance of the liquid in each glass
  11. Take a photo for your display
  12. Now you have to proceed with some help. Place a coffee filter into the top of one of the clean glasses; get someone to help you hold it so it does not drop into the glass
  13. Slowly pour the water and sand mixture into the filter
  14. Observe what happens and write it in your note book
  15. Take a photo of the filtered water as well as the filter, you can let the filter dry carefully and keep that for your display as well
  16. Now you do the same with the other mixtures as well, when you come to the sugar and water mixture you can also taste the filtered water and make a note of the taste.
  17. What happened? Did the coffee filter, filter out the sugar? Did it filter out the sand? What happened with the cocoa?
  18. Now you can formulate your results
  19. Remember the photos for your display, because as with all projects, the displays of Easy Elementary Science Projects are important.
Science Fair Projects are fun. This is just one to show you, get a good book, such as 365 Simple Science Experiments with Everyday Materials for even more ideas.

Monday, December 3, 2012

The Strongest Man in the World Can’t Break this Egg!


Do you think that you are pretty strong? Is your father or mother strong? When you think of eggs, you probably don’t think that they are really strong, do you? In fact, you probably think that they are pretty weak, because if you drop them, they always break and make a big mess.

This science fair project is easy for students in kindergarten and first grade to do. Usually, science fair projects want to prove that a hypothesis is right (or wrong). For younger students, this can be too difficult to do. Here is the question that you are going to answer in this project: can you break an egg by squeezing? Can your mother or father break an egg by squeezing it?

The process of this science fair project is pretty easy. The equipment is something that you have in every kitchen: eggs and a bowl. The first step is to inspect the eggs to check and see if there are any cracks in them. Eggs that are cracked should not be used. To see if you can squeeze an egg, place it in the palm of your hand and close your fingers around it. Then squeeze it as hard as you can (over the bowl, of course, so you don’t make a mess all over the kitchen). What happened? Were you able to squeeze the egg and break it?
Repeat the experiment asking people who are stronger than you (and who have bigger hands) to give it a try. Could they squeeze the egg and break it?

If you are doing the experiment right, you shouldn’t be able to squeeze the egg and have it break. The reason why is that unlike what we believe, eggs are really quite strong. When thinking about how a chicken lays an egg, you can see that they are squeezed a lot, but don’t break.

Taking the same eggs that you tried to squeeze, break it (over the bowl). How did you do it? You probably tapped it against something, making a crack in the egg, and then were able to break the egg.

The structure of the egg makes it very strong, and unless you break the structure, even the strongest man in the world (or the person with the biggest hands) can’t squeeze an egg enough to make it break.

So was your answer to the question on whether or not you would be able to squeeze an egg right? Since you have been playing with eggs, you should make sure to wash your hands with soap and water to prevent some of the bacteria and viruses that can be found in uncooked eggs. After that, you may want to ask your mother or father to cook omelets for dinner.

Wednesday, September 12, 2012

A Fun Science Experiment - Layers Of Liquid

Apart from doing science fair projects, simply doing science experiments for the fun is a good idea as well. There are so many elementary science fair projects to do, kids can have lots of fun without ever getting bored, especially homeschoolers must make an effort to do as many fun and easy science experiments to instill a love of science in the kids.

Our fun experiment today will show how different layers of liquid can be formed in a jar because of the difference in density of the liquids.

If your water is too dark you cannot see the layers properly. Make the water light.


What you will need for your science experiment:
  • A glass half filled with water
  • 4 tablespoons of vegetable oil
  • 4tablespoon of golden syrup
  • Food coloring
  • A clean glass jar
How to do your science experiment:
  1. Color the water in the glass with a little food coloring. Do not make it too dark or you will not be able to distinguish the layers very well. Your layers will also not stay very long as the water with the food coloring will start coloring the syrup as it dissolves in the water. (It practically “soaks up” the colored water, do you know why?)
  2. In a clean glass your spoon four tablespoons of vegetable oil
  3. Slowly add four tablespoons of the colored water to the jar.
  4. What happens?
  5. Now you add the four tablespoons of golden syrup to the jar very carefully and watch what happens.
  6. What do you think will happen if you add the liquids in a different order?
  7. Why do you see three layers?
  8. Why is the syrup at the bottom and the oil on the top?